|
Here's something I've been trying to fnd the time to put up here for many years now & this Forth of July holiday of 2007 looks to be the break I've been looking for. Just this week alone I've had 3 enquiries for monitor neck boards. I don't know how many times I've heard it over the years & I usually get this response after telling the person that I don't have what they need... I cracked the neck board & it is no good now & I can't find one to replace it. It had a perfect picture, it had no burn-in & I really need to save it. Some say they had tried to super glue it back together without success & there is no hope of salvaging it, while others don't even try to salvage it, thinking only of replacement.
Used neck boards for many of the different monitors are nearly impossible to find & ones for the very common monitors are usually still in use. Well... there is an ugly way to keep from throwing that chassis on the junk pile & trying to locate a replacement chassis that will work with your CRT/yoke combo that probably won't bring back that perfect pic you strove to save. I searched through the warehouse & managed to find one broken neck board to demonstrate with. This one is more than cracked...it's broken into two pieces, but I've had ops bring some in that were in 4 or 5 pieces, yet savageable. 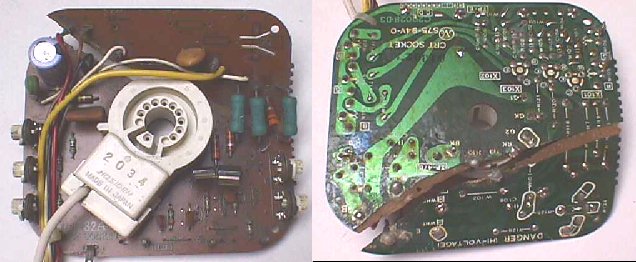 You can see it is definitely broken, so let's get it prepped for an ugly repair. The first thing you need to do is locate all the traces that have been opened along the break or crack. As you find each one use a small screwdriver or hobby knife to scrape the paint off the traces on both sides of the the break. 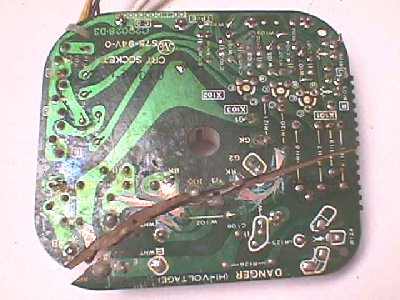 Okay... you have all the broken traces scraped back like in the pic above & now you need to find a way to hold the pieces together while you operate. 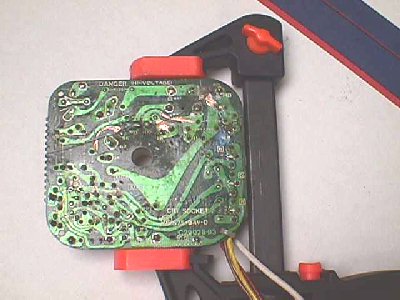 I used this ratchet bar clamp that has acted as a third hand for hundreds of projects around here. It holds it firmly in place while bridging each break. 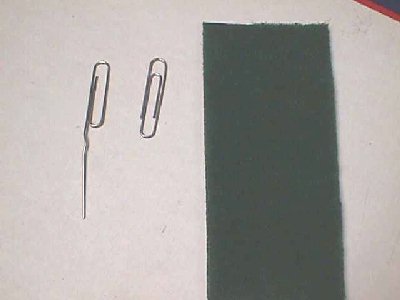 Here's the secret ingredient to a successful ugly repair.... large paper clips! The Scotch-Brite pad is to remove the coating on the paper clip to allow the solder to adhere to it. Bend the clip open & sand it with the pad until it is no longer shiny. Tin the clip & the traces that were scraped back. Don't overheat the traces as they will sometimes peel. 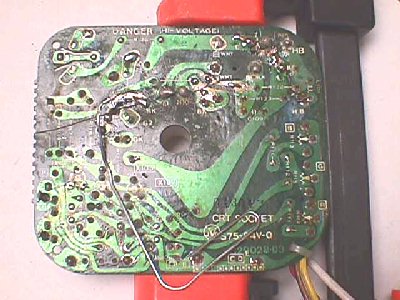 If you have to form any pieces of the clip into "pretsel" shape it will be better to tin after doing so. Then, one by one, start bridging each break with pieces of paper clip until you have them all completed. As long as no other traces or solder joints are in the way, it will add strength to let the clip go by the last place you intend to solder it. 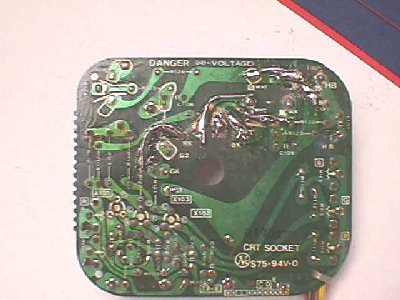 At this juncture, with all your ugly repair clips in place, you'll want take a last scan of the solder side to be sure you didn't miss anything, check each repair thoroughly & then flip it over & check that all the components fell back into place & are not broken in any way. You're satisfied that all is good... then smoke test it. 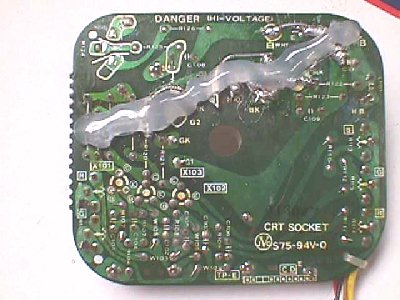 No smoke... works like new... great. This is where I usually put a two-part insulating glue along the crack to help secure the two pieces & cover up parts of the ugly repair, but, unfortunately, it is no longer made. I would assume that a standard hot stick glue would accomplish the same thing.  You want to hide the ugly repair even better... if there was a cardboard backing on it originally, use it to hide everything, and if not, cut a dense piece of cardboard the size of the back & punch a couple holes where needed to cable tie it to the neck board. In either case, I would be sure to label it as a repaired board, so that someone doesn't come along later & manhandle it into a second break. Happy Gaming... |