|
I have the pic below linked to the A/RII-02 kit on the Parts Page, but lately many of you have been asking for more details citing an inability to read/trace schematics. This prompted me to write up this simple little quick fix shotgun note. 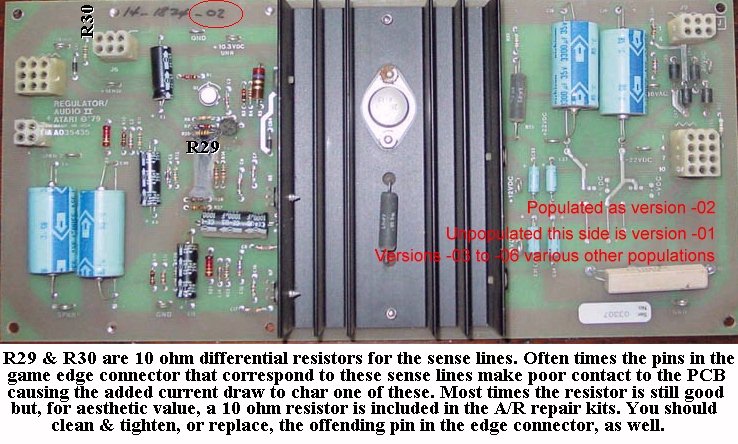 Parts You'll Need:
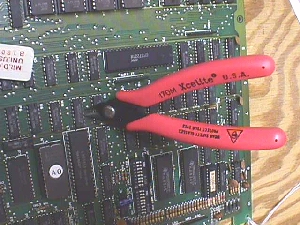
From the Dollar Store Tools You'll Need: You'll need the HT-1921 crimping tool or a compatible crimper, not a $2 or $3 automotive crimper that is fine for most fully insulated quick disconnects, but does not have the saddles to do small pins & sockets. You'll need a split pin extractor or any of the common simple items I have listed on the Crimp Mystery Page and, of course, a flushcutter of some kind. Getting Started: The first thing to do is replace the 2 resistors at R29 & R30 being sure to clean up the PCB, if charred, under them before installing the new ones. Next pull your 22/44 edge connector from the game PCB. At this point it would be a good idea to use a magnifying glass to check for the word "Molex" on the end of the black housing to be sure that it has not been previously changed out with an off-brand connector. Now that you know you have the Molex you can use that magnifying glass to locate the position numbers on the housing.... noting that all numerals are on the insertion side (wire side)... and find positions 1/A/2/B & 21/22. These are the pins that you'll need to shotgun & the foolproof way is to remove one wire at a time, cut the old pin off about a 1/4" back giving you a good clean wire to attach a new pin to & then replace it in the same position on the housing. Do them all like that & it'll squash the error margin. You should be good to go at this point, but you should clean the edge fingers on the PCB with an eraser before replacing the 22/44 edge connector. There are a couple caveats... one being that if you do not do a good job in crimping, keeping a tight, rounded crimp it may not fit into the housing slot. If this happens you can use the crimper again to reshape allowing entry. You want your finish crimp to look as close as possible to the old one that you clipped off. A fair to good job will fall right into the slot easily. Also, when using an eraser be sure that all residue is brushed or blown away from the board & connector.... rubber is an insulator! If you have more than one A/R board in your game, such as Pole Position, you may need to double up on the split pin purchase as it will take a few more. The Pole Position second board's 15/30 connector will need these positions shotgunned... 1/A/2/B & 14/15. Happy Gaming... |